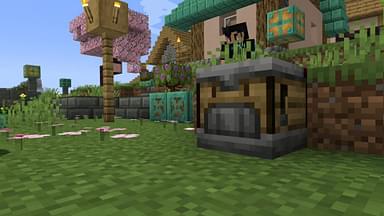
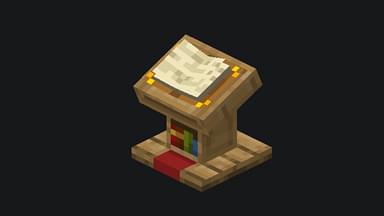
This article will look at how to make a cartography table in Minecraft. We will do every step in detail, making it easier to understand.
You will need a cartography table to make new maps because knowing where you are in the Minecraft world is crucial. Contrary to belief, it is pretty easy to make a cartography table. The process of gathering the ingredients is a little time-consuming.
How to make a Cartography Table in Minecraft
Here is a video to see if you like a more straightforward visual method to make a table.
Step 1- Collecting the Ingredients
The first thing you should do is gather the materials to make one. You will need three sugarcane stalks to make paper. You can easily find them growing around water. The next thing we need is wood; you can collect wood from any tree. Plus, this resource is abundant no matter what mode you play.
Now we are going to make a crafting table with this collected wood. Open your inventory and place the wood blocks on the crafting GUI to make planks. Once you have planks, place one plank in each box of the 2×2 GUI to make a crafting table.
Also Read: How to Make a Crafting Table in Minecraft
Step 2- Making the Cartography Table
After you make the crafting table, place it somewhere in the world; now, all we have to do is make paper and start building on the crafting table. Now click on the crafting table, place four planks in 2×2 boxes and then place two pieces of paper on the top two boxes.
This will make the cartography table; now, you can use it to make maps. Let us look at what you can make with this table.
You can use the table to expand a map you already have. Place the filled map on the top slot and a piece of paper on the bottom. This will expand the map. However, you can only expand a map up to four times.
You can also combine glass panes with the maps to create maps that cannot change.


