The Legend of Zelda: Tears of the Kingdom – Jiosin Shrine location and how to complete the challenge

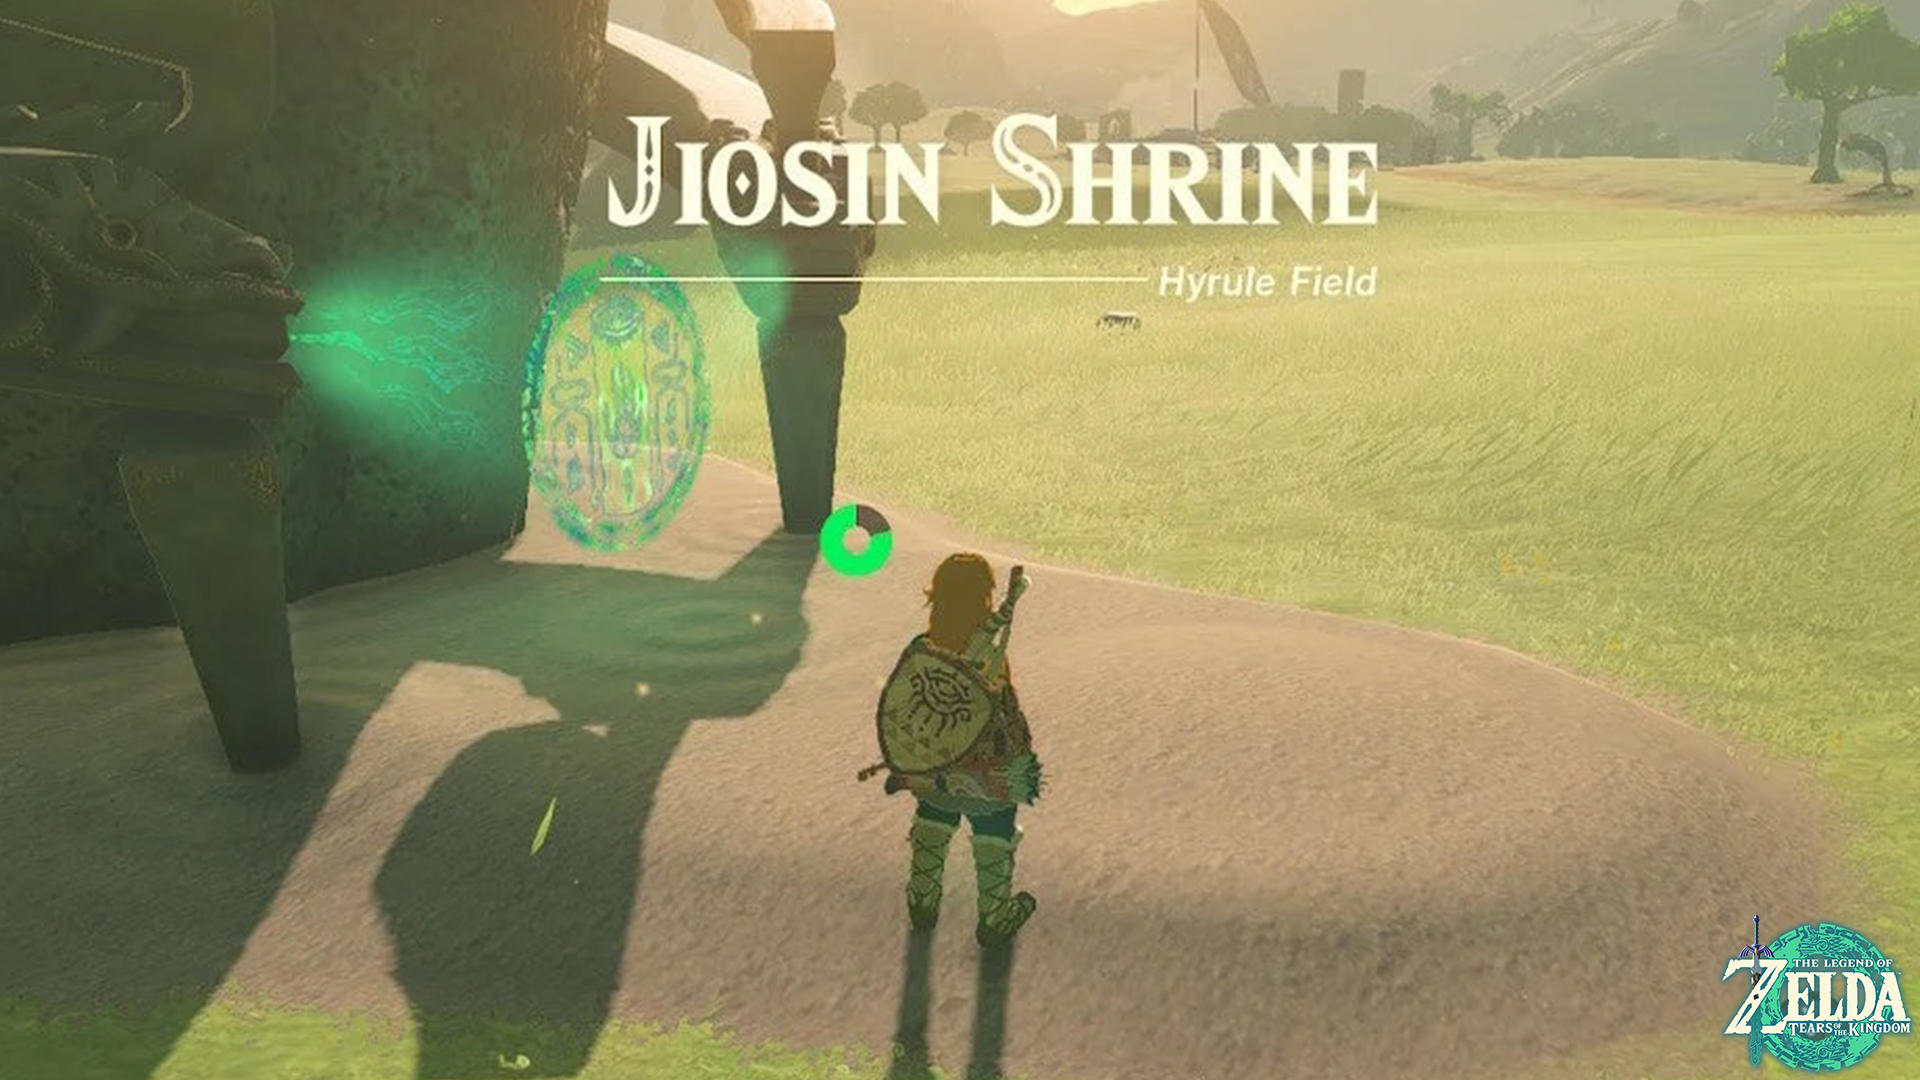
There are several areas for fans to explore in The Legend of Zelda: Tears of the Kingdom. Among these various in-game locations, Link must visit the Jiosin Shrine. Here’s everything gamers need to know before venturing into this in-game place.
Shrines are dungeon-like regions in the Zelda titles, which made a comeback in Tears of the Kingdom. These regions are crucial since it is the only spot where the Light of Blessing can be obtained. The latter is an in-game item that enhances the protagonist Link’s Heart Container and Stamina Wheel.
Like the other shrines in this new The Legend of Zelda game, Jiosin Shrine should not be avoided. Visiting this shrine not only improves Link’s stamina and health but also takes him closer to unlocking the Ancient Hero’s Aspect armor, a legendary in-game item that provides a +12 defensive stat boost to the protagonist.
Jiosin Shrine location in Zelda: Tears of the Kingdom
There are over 152 shrines scattered across the Hyrule Kingdom’s surface and sky islands. It is a tough challenge for the Zelda protagonist to uncover and visit all of them. However, Jioshin Shrine is one of the easiest shrines to find in The Legend of Zelda: Tears of the Kingdom.
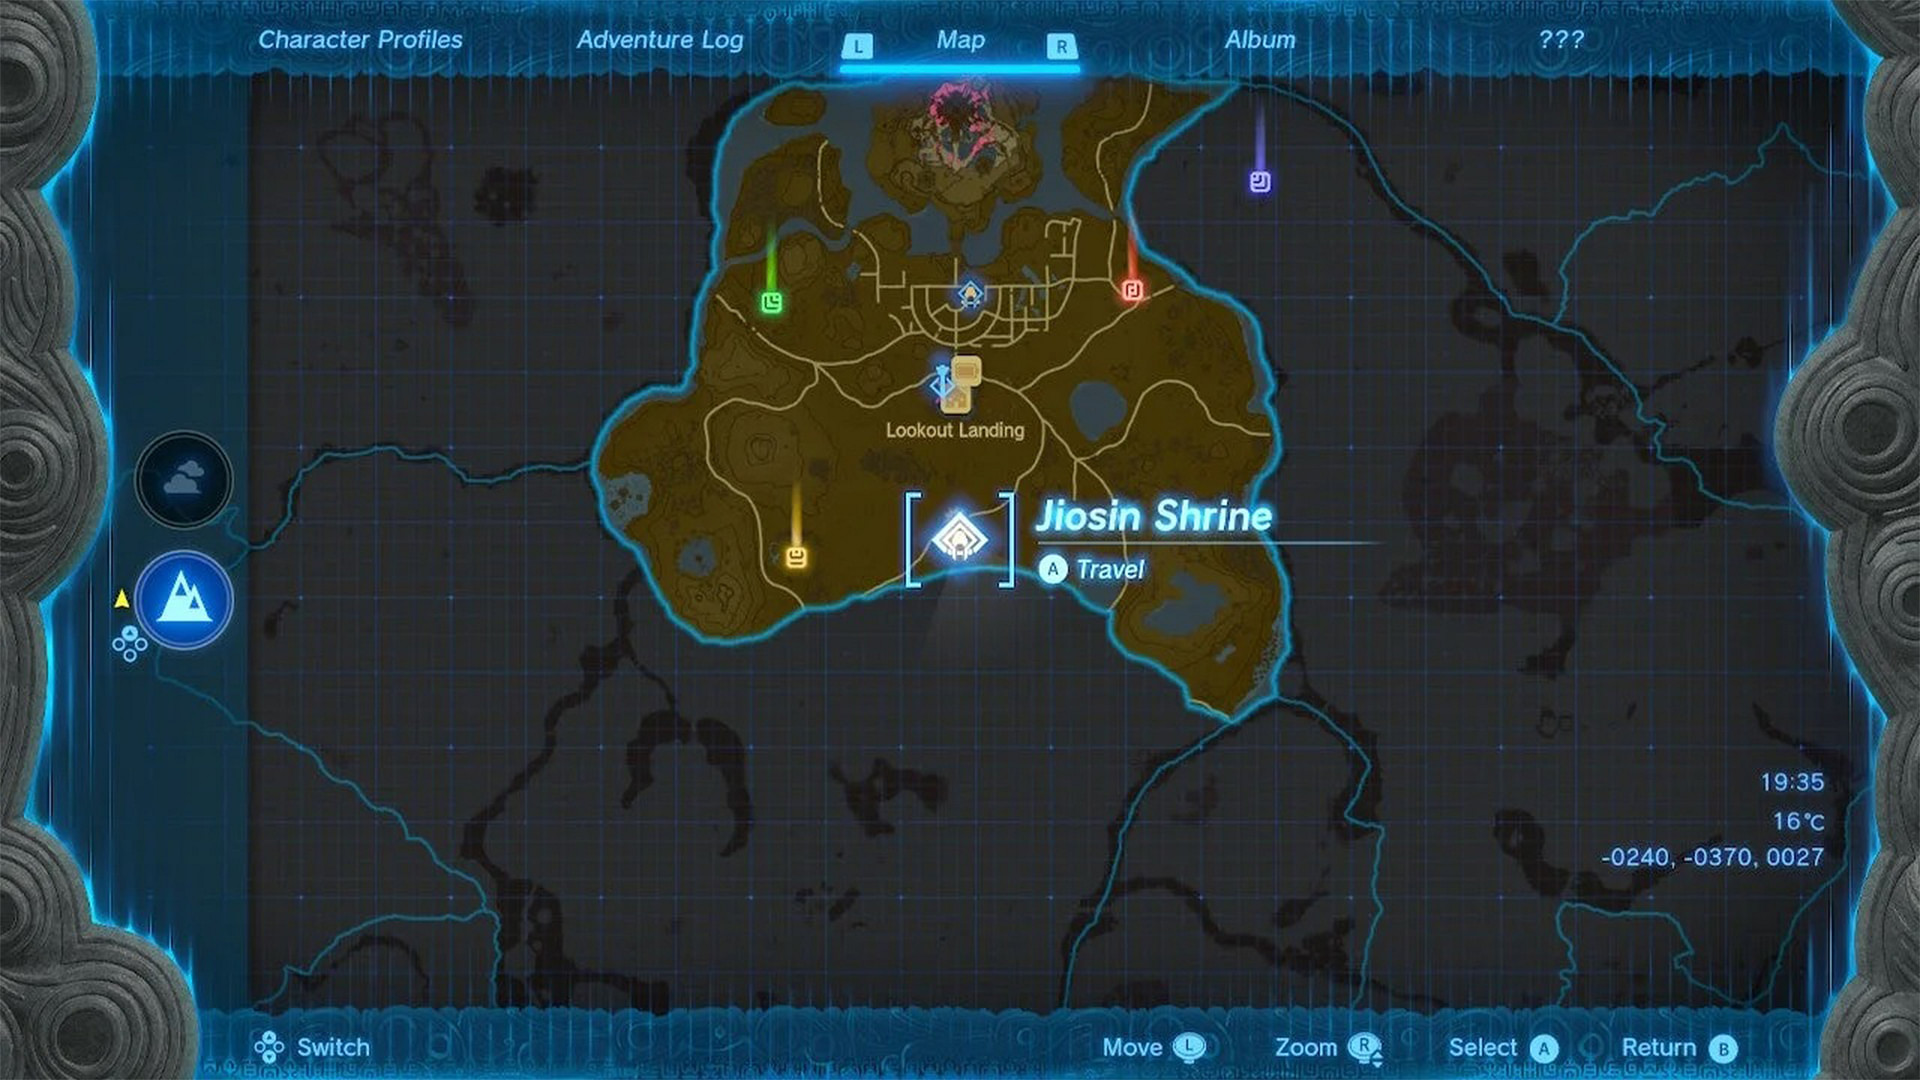
This shrine is in the Hyrule Field Region, and the Zelda protagonist must go south of the Hyrule Field Chasm to find it. He can also go south of Lookout Landing to visit this shrine. The Jiosin Shrine’s precise coordinates are -0240, -0370, 0027.
Jiosin Shrine Walkthrough
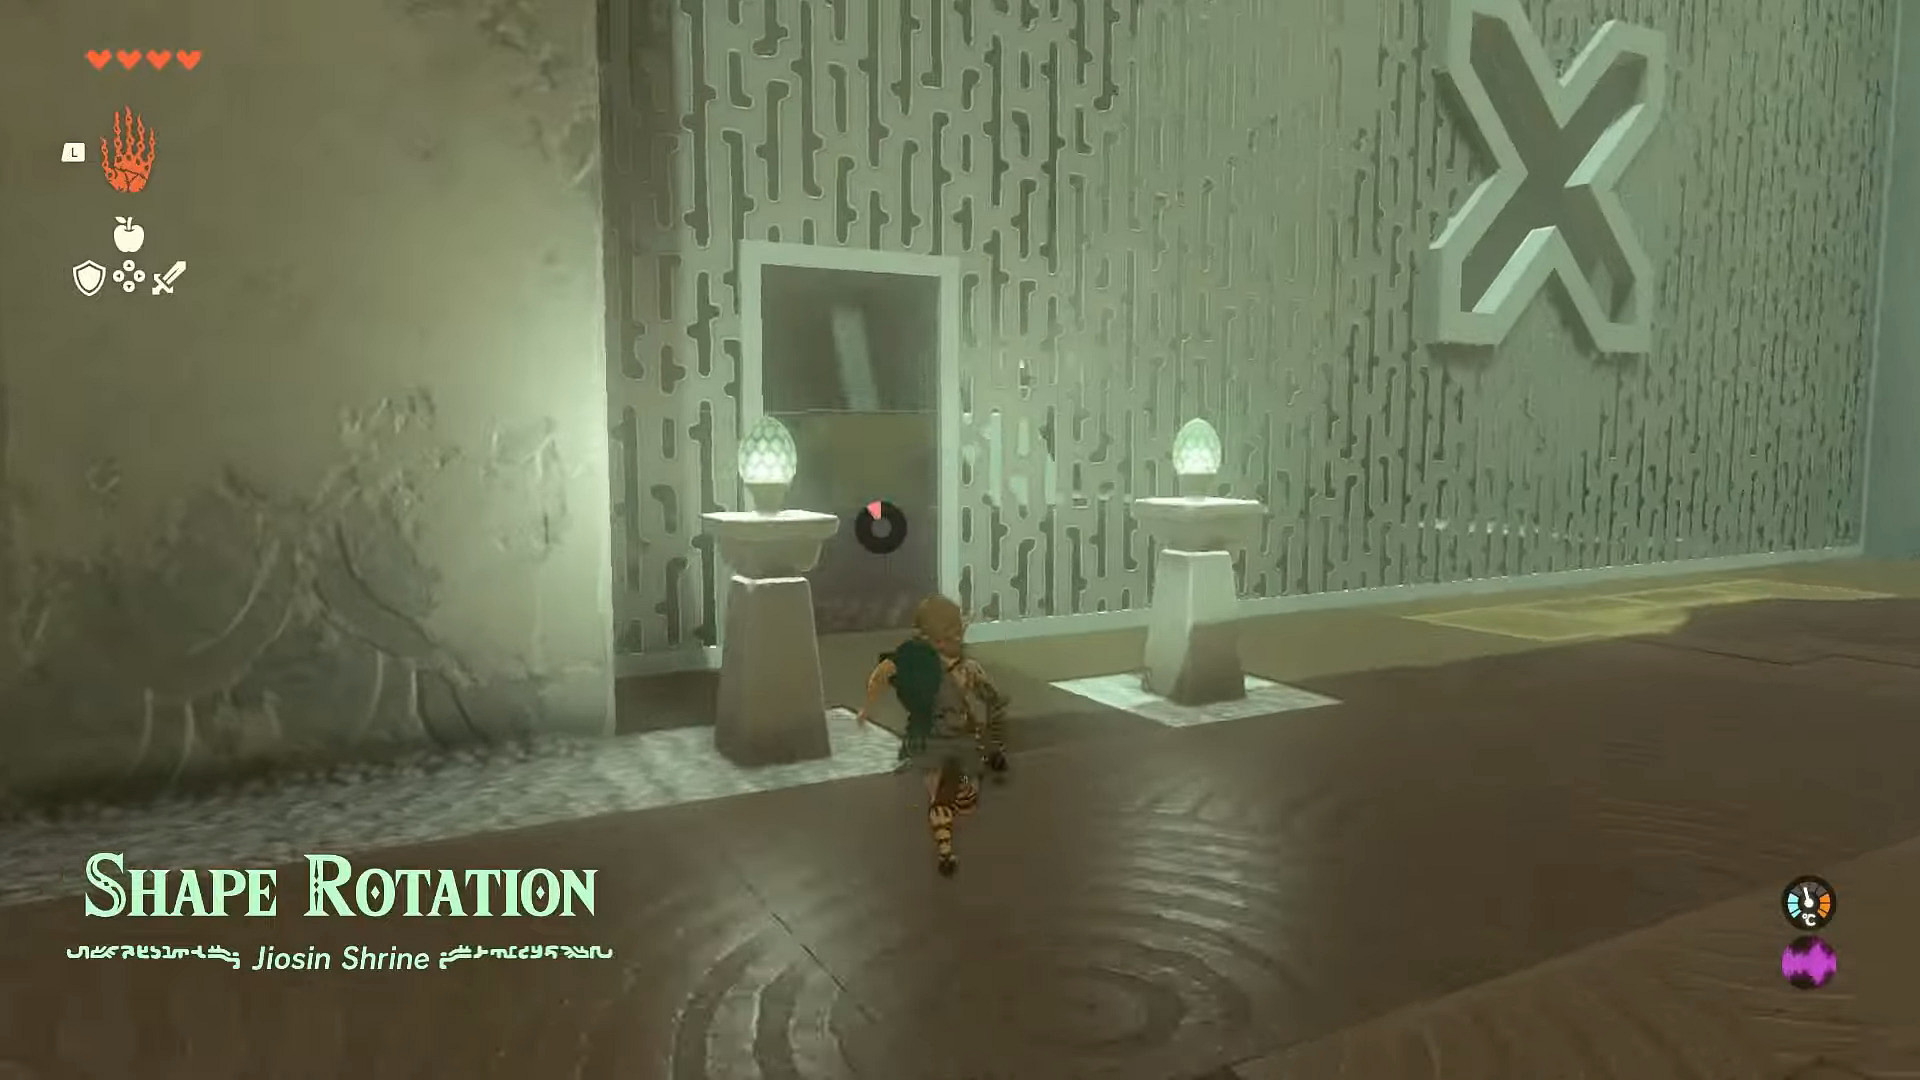
Jiosin Shrine also has a one-of-a-kind task for Link to complete using his new Ultrahand. The challenge for this shrine is called “Shape Rotation.” Link should follow the steps mentioned below to complete this challenge with ease:
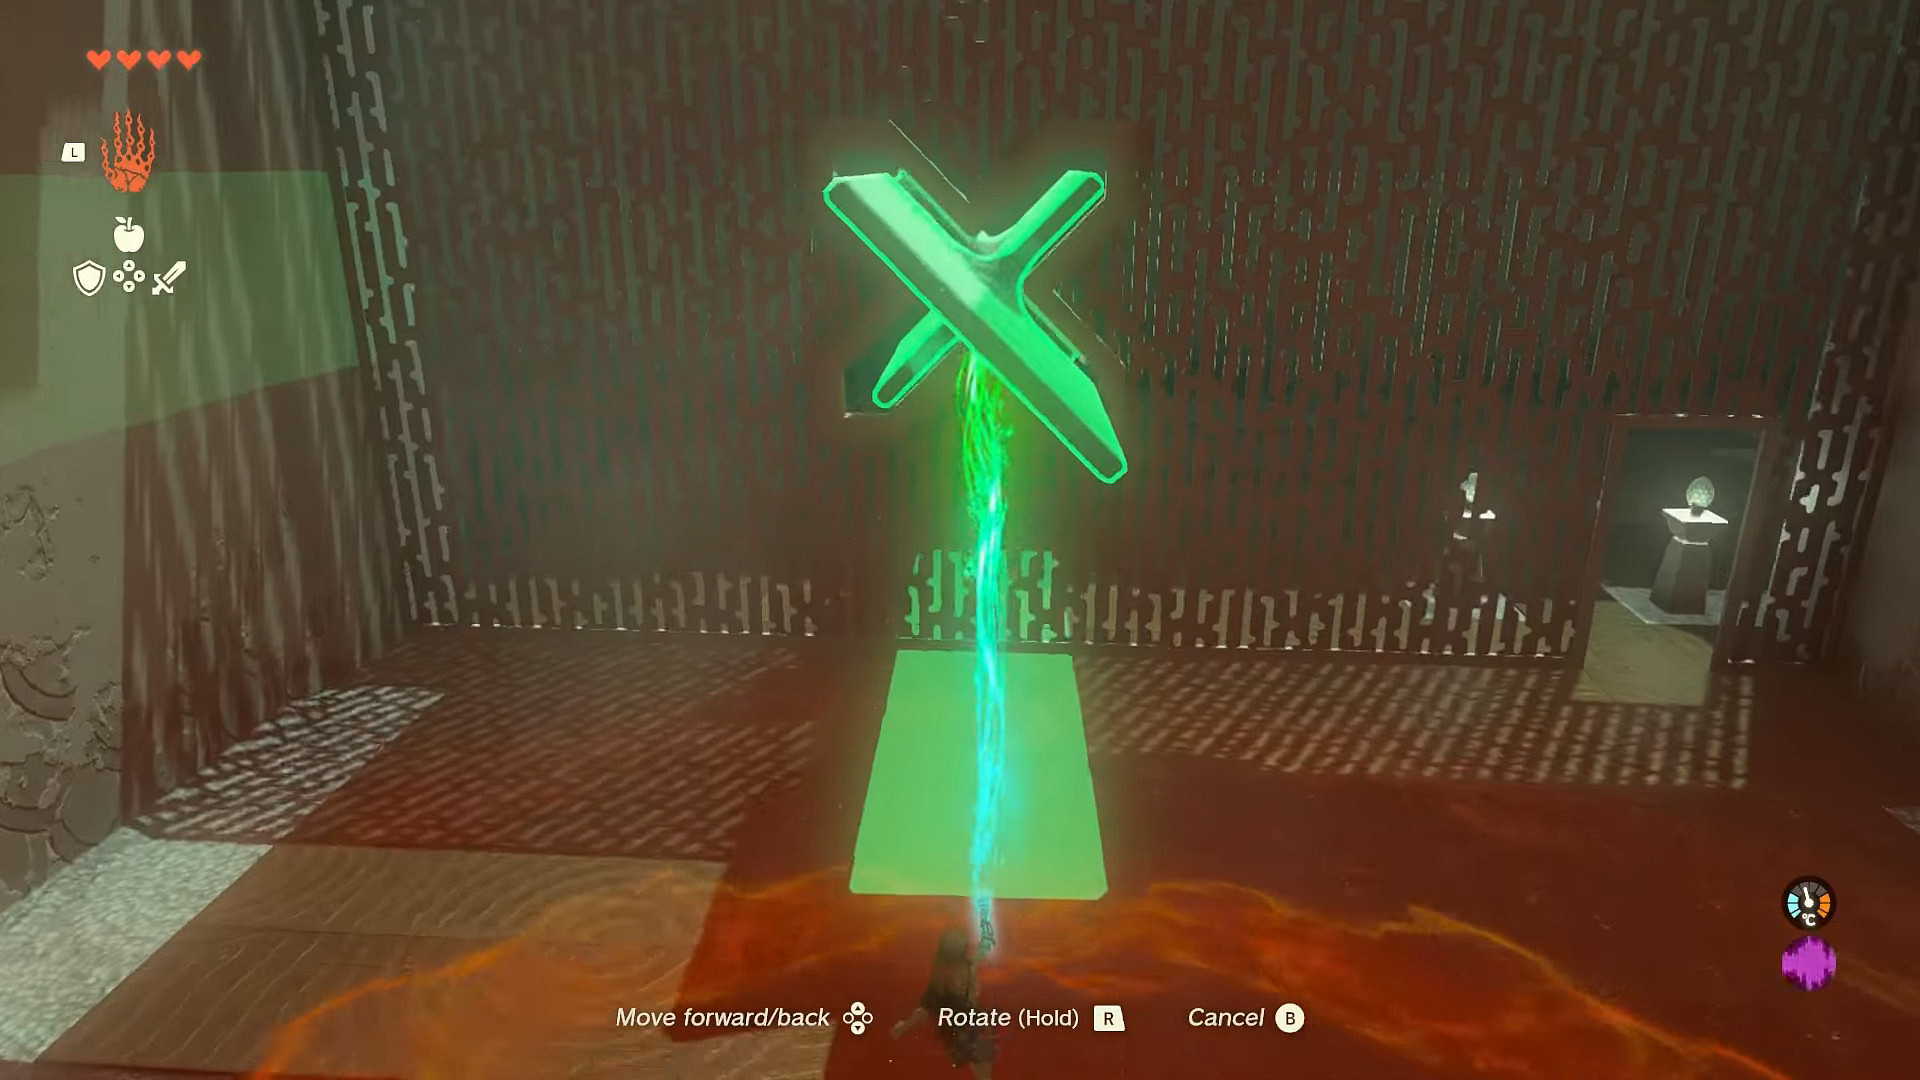
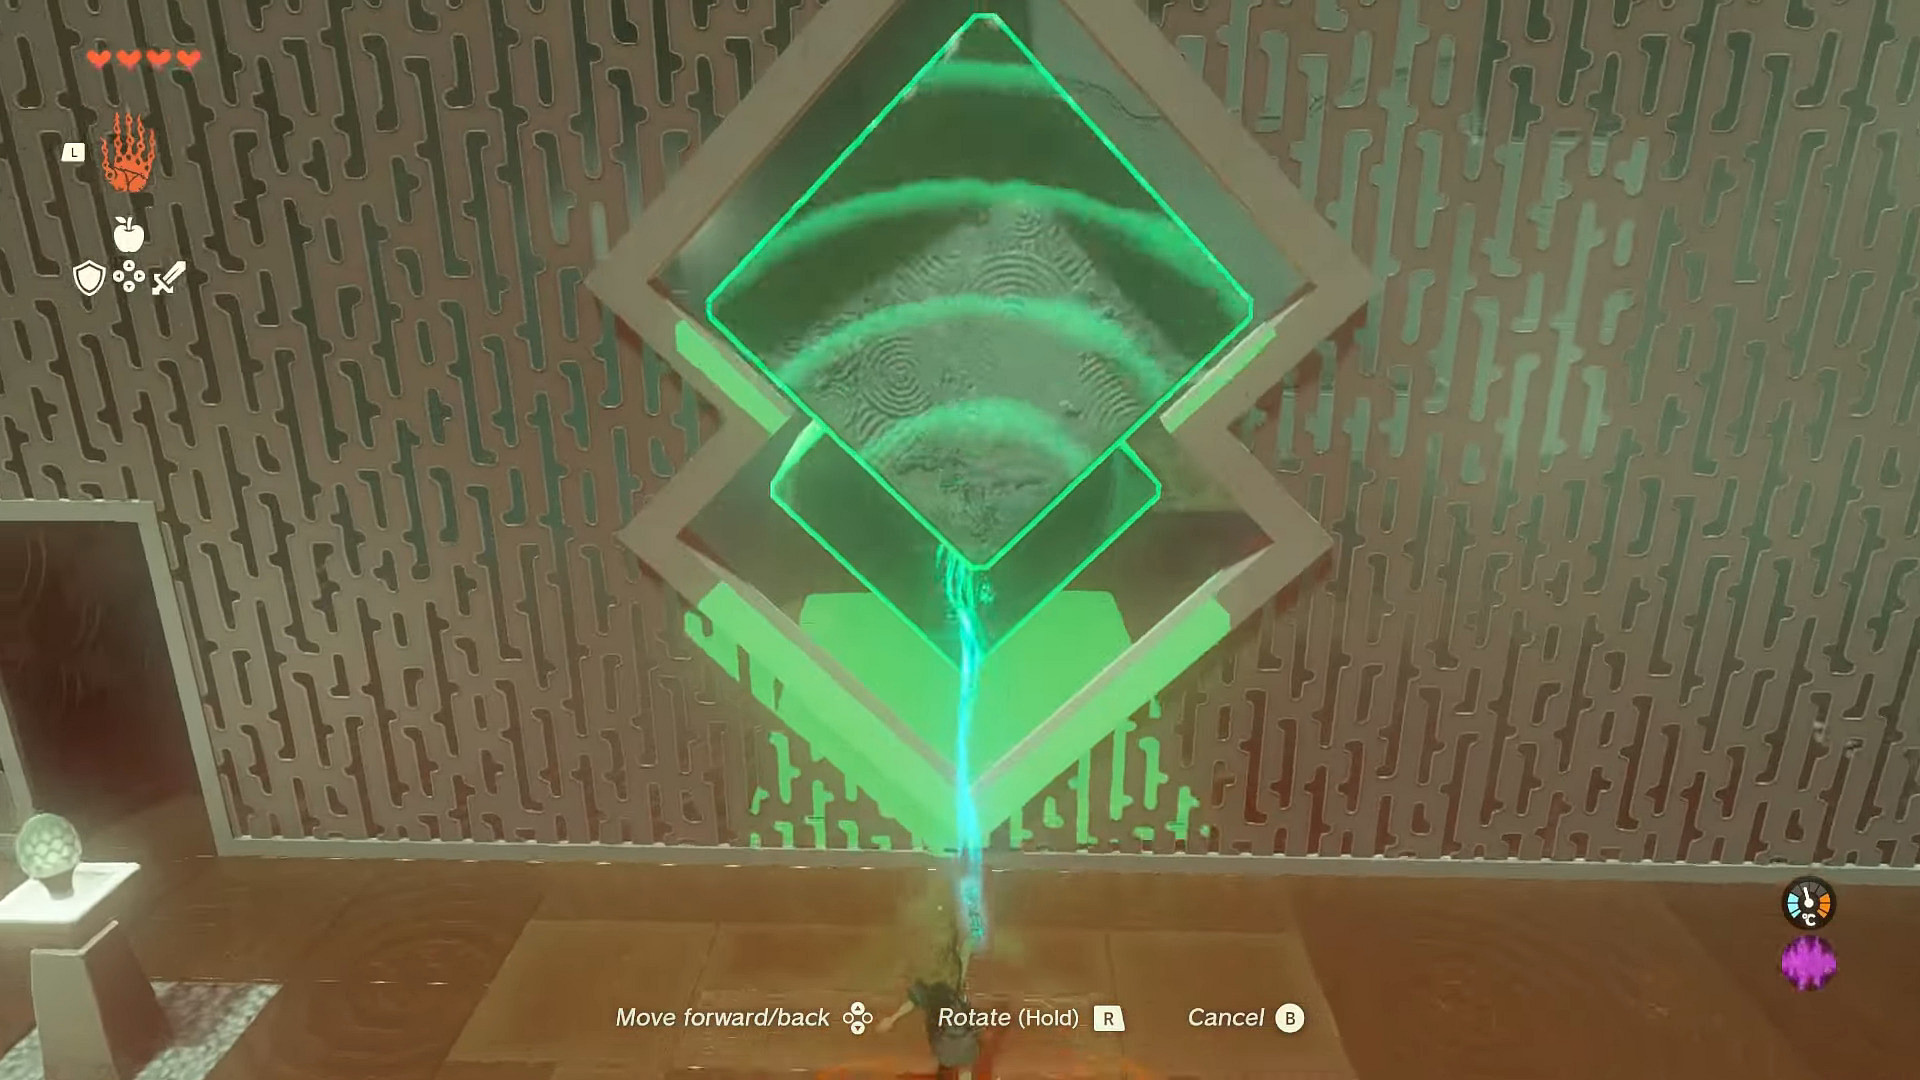
After entering the shrine, Link will see an X-shaped hole in the wall on his left side. He should pass through the waypoint in that wall to enter the next room.
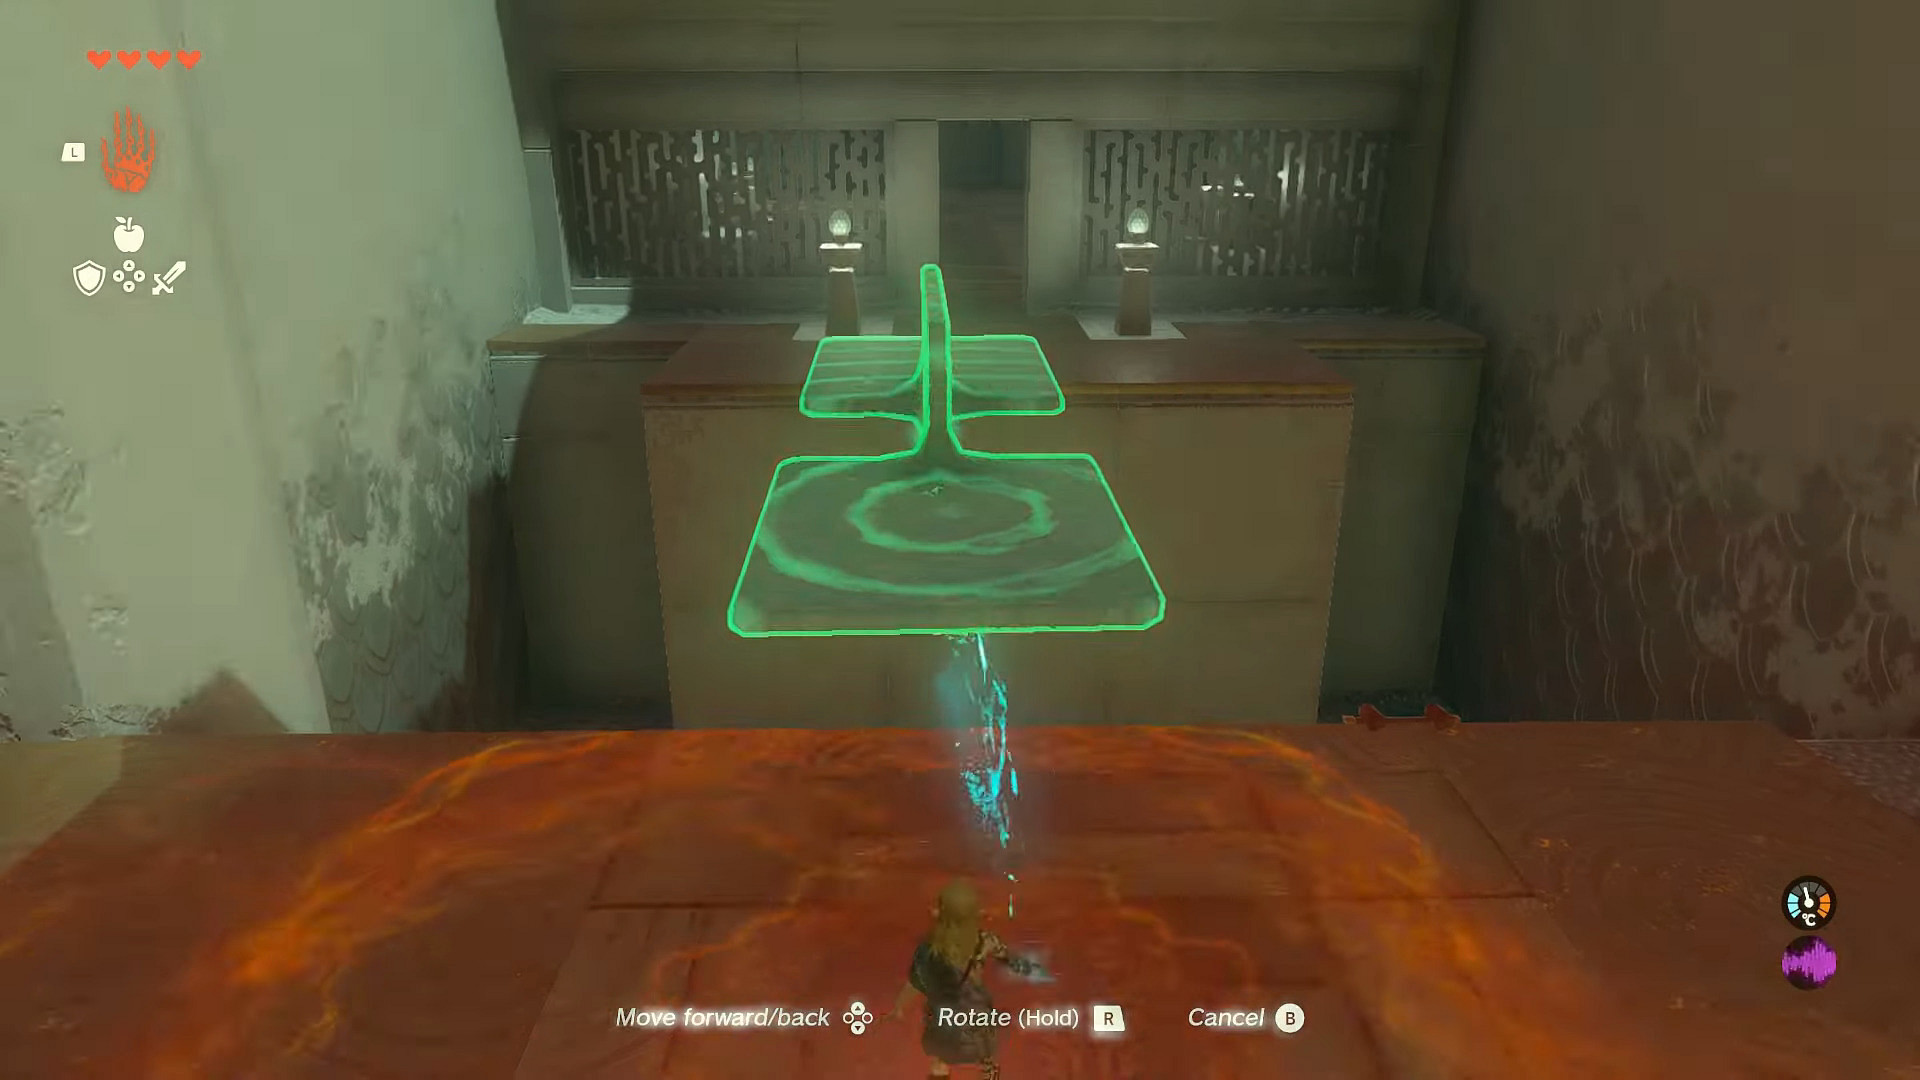
In the next room, the silent hero will spot an oddly-shaped block. Link needs to use his Ultrahand’s Grab ability to lift that block and align it with the X-shaped hole on the wall to pass it through.
Link would then return to the main room and Grab that block again with his Ultrahand. But this time, he would use the block as a bridge to cross the gap ahead and enter the next room.
After entering this new room, the Zelda protagonist will spot another wall with an odd-shaped hole in the right wall. He should then pass through the waypoint in that wall to enter the next room.
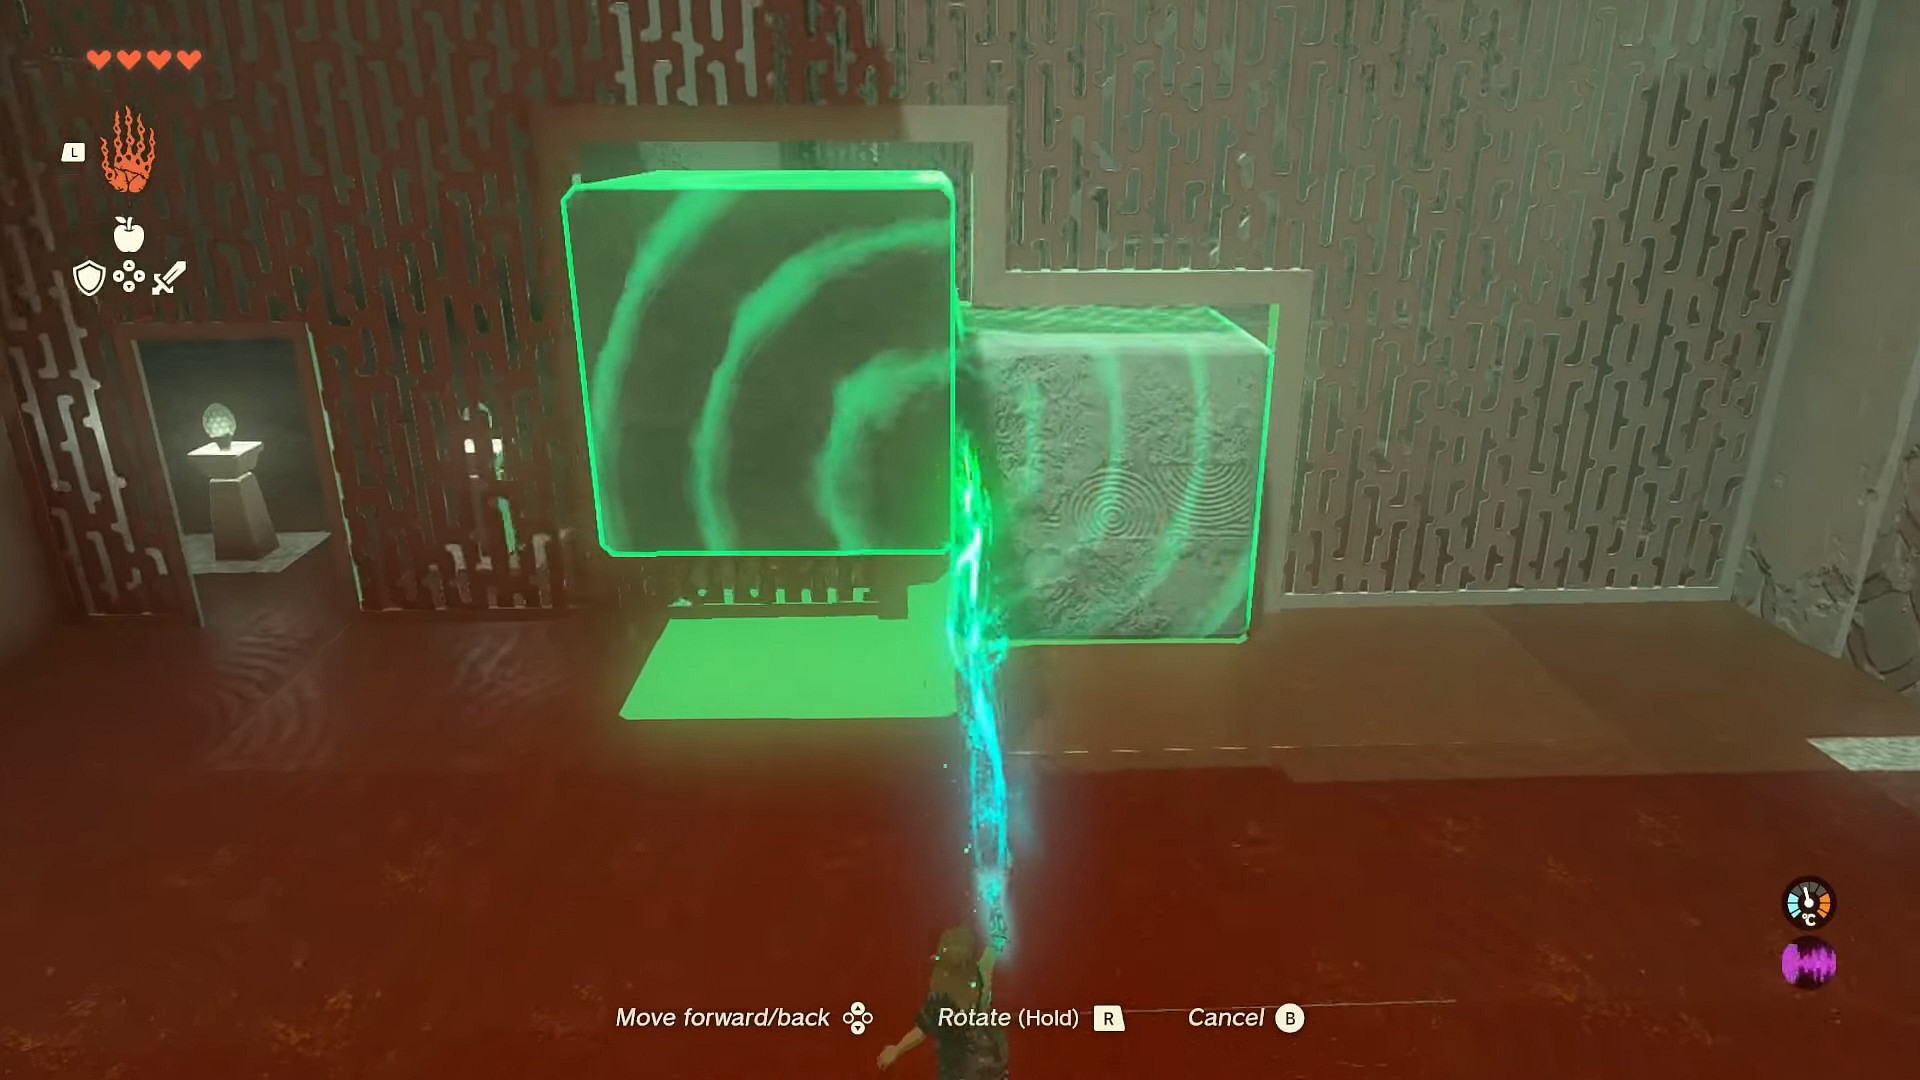
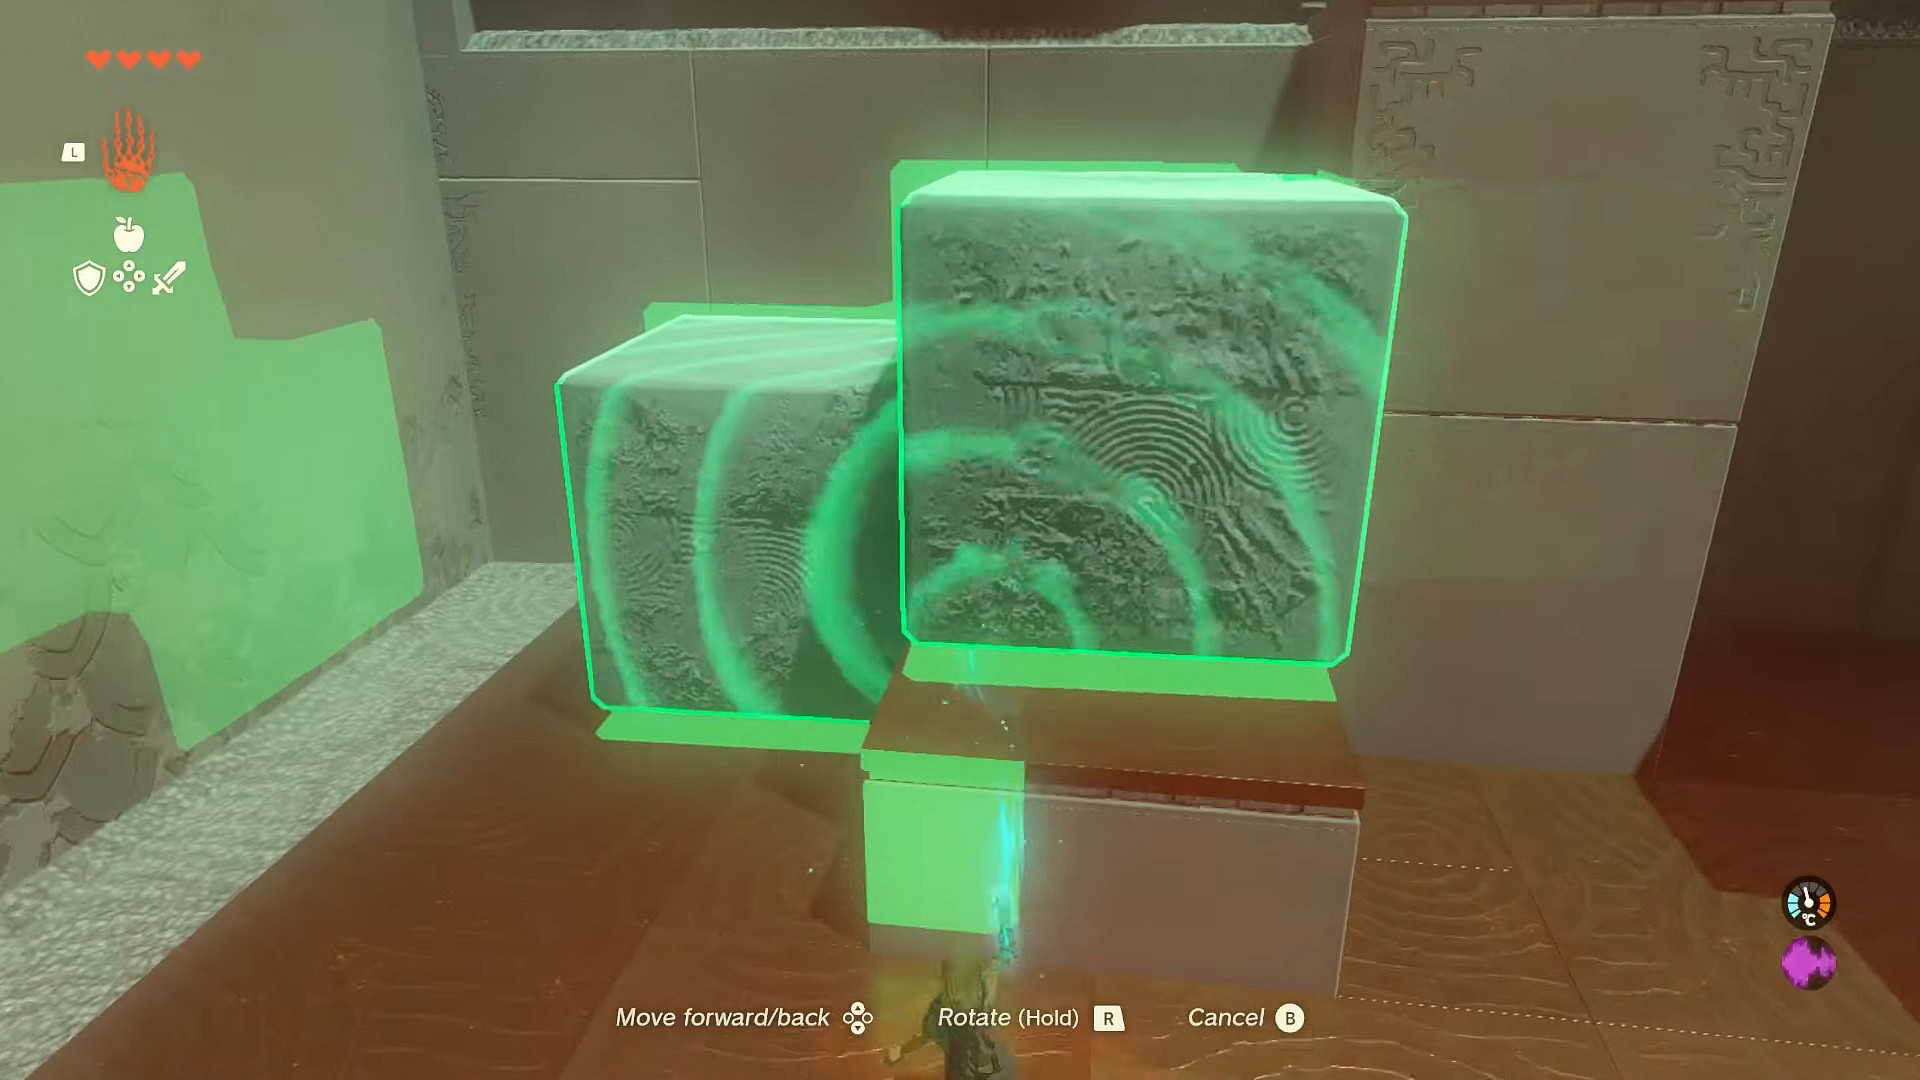
Link will then stumble across a new oddly-shaped block, which he needs to Grab using his Ultrahand. Then align that block to pass it through the hole in the wall.
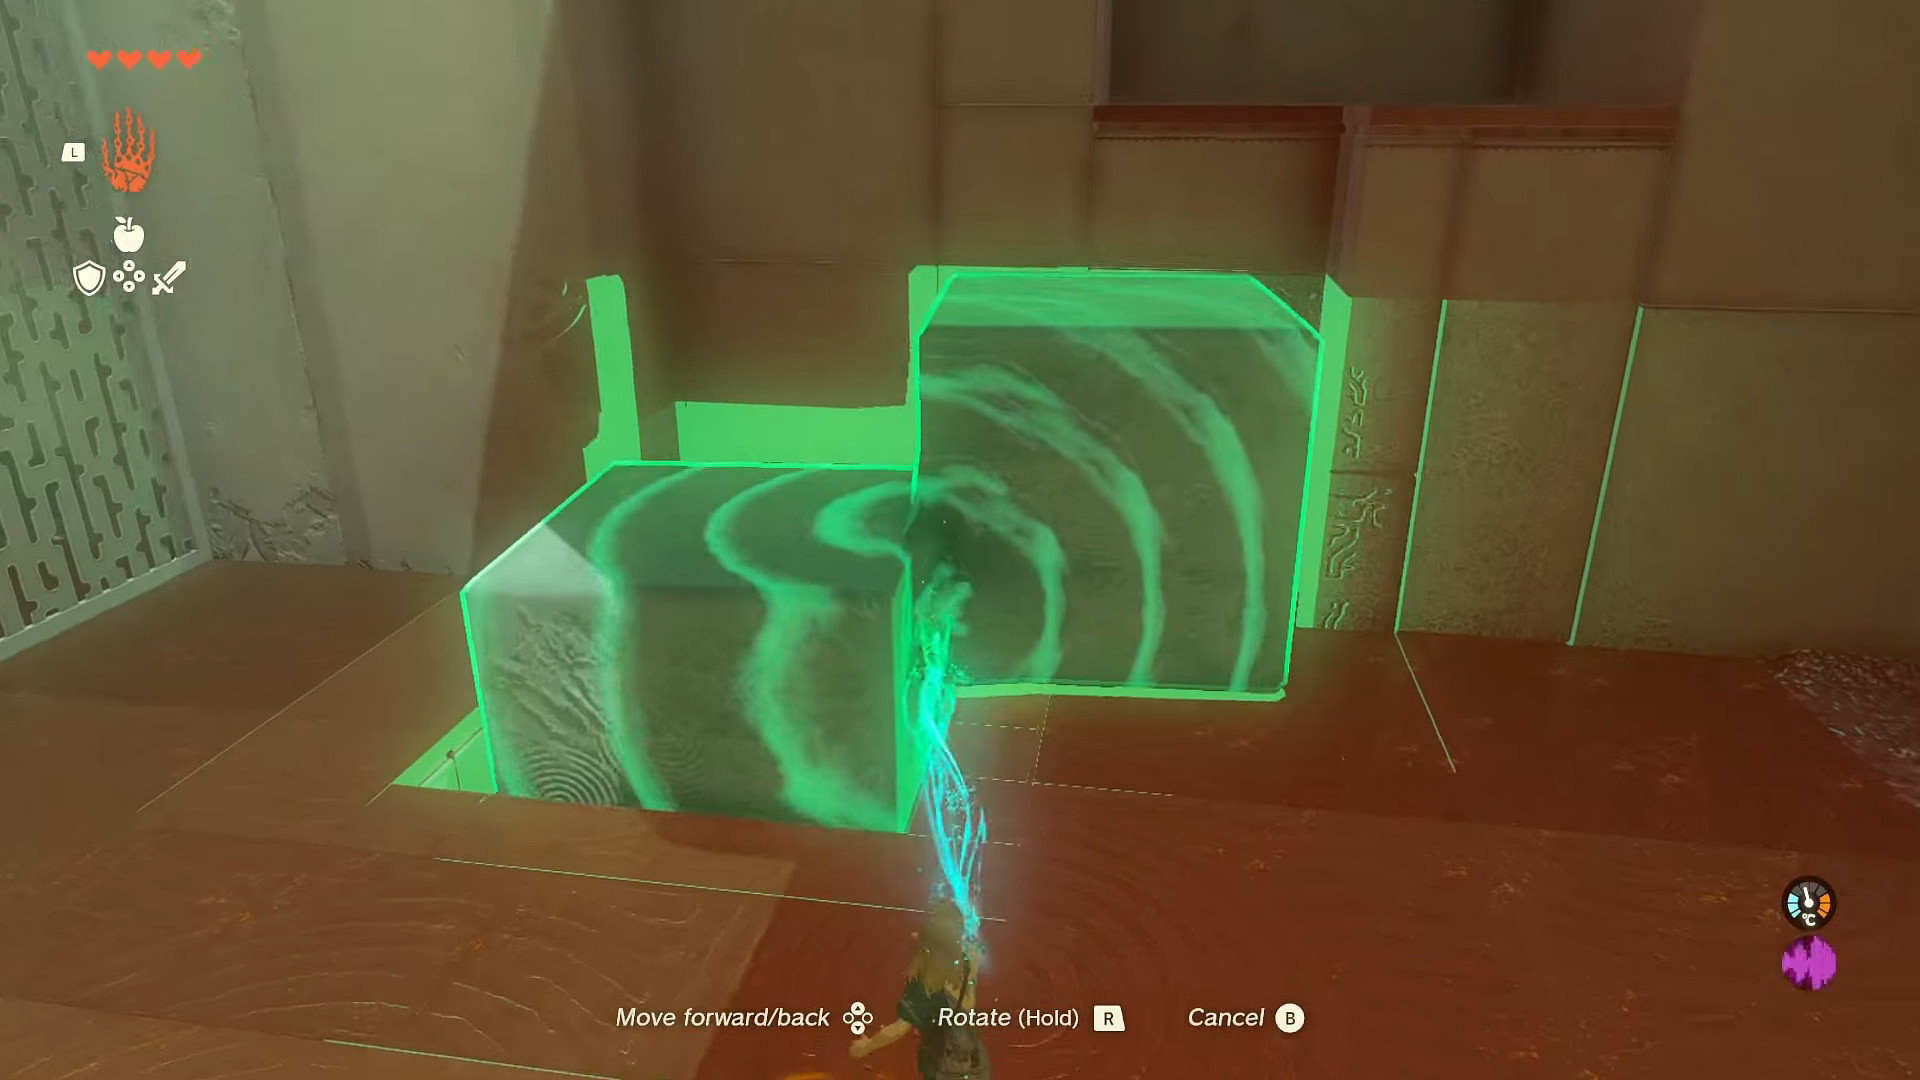
The Zelda protagonist then needs to return to the previous room. Then he should use his Ultrahand to place that block against the platforms ahead. He can then climb that to reach the Treasure Chest containing a Hasty Elixir.
Link must Grab the block again with his Ultrahand after looting the Treasure Chest. But this time, he’d have to position the block for it to pass through the hole in the right wall to the next room.
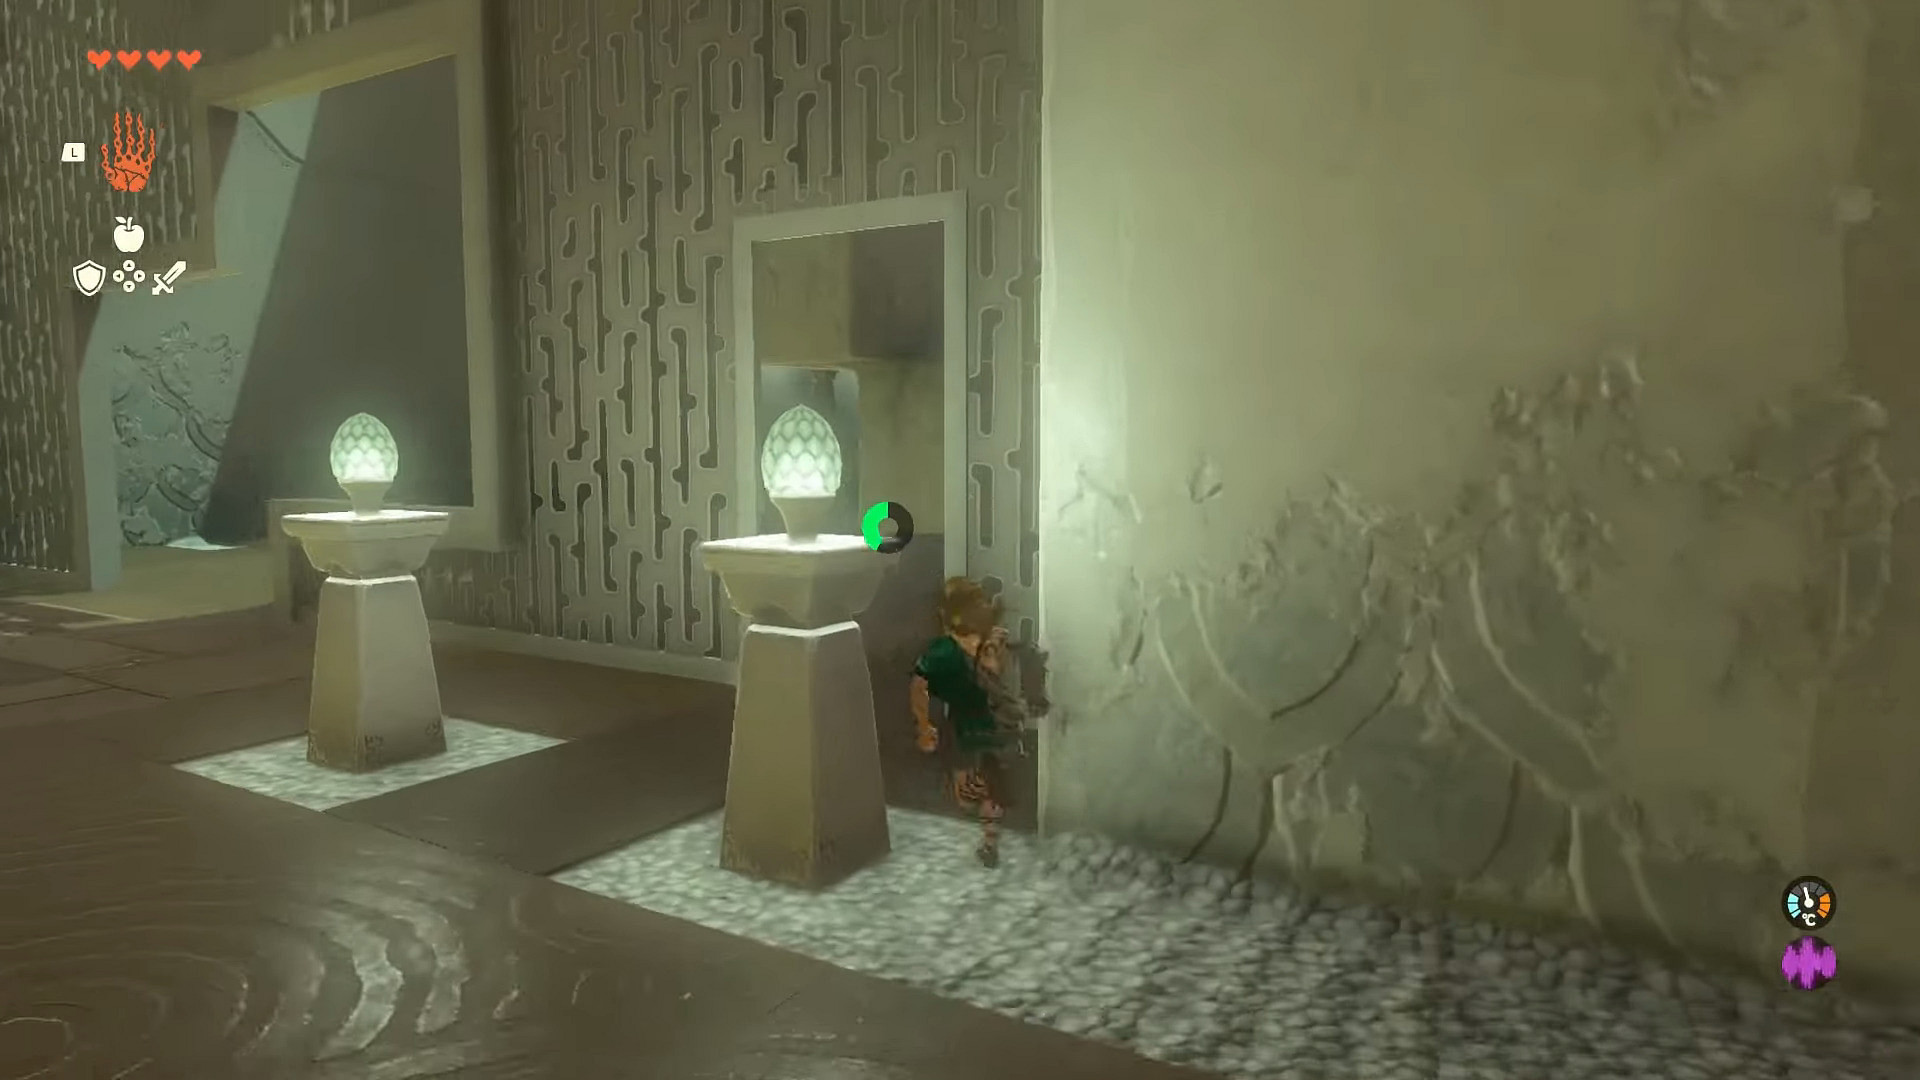
He would have to use his Ultrahand again to pick up the block and set it against another platform. He can then climb to the altar room to examine the shrine and obtain the Light of Blessing.
Fans should complete this Jioshin Shrine challenge in the early part of the game, as it is one of the easiest challenges. After its completion, they can read everything about the Kyononis Shrine by clicking here.
About the author
-

Adnan Juzar Kachwala •
All of the Rosters Confirmed for VCT 2024: Americas, Pacific and EMEA
-
Subhradeep Mukherjee •
The Legend of Zelda: Tears of the Kingdom wins the Best Action/Adventure Game award at The Game Awards 2023
-
Danyal Arabi •
Fortnite Battle Royale v23.50 patch notes: Cipher quest rewards listed
-

Danyal Arabi •
Apex Legends Arsenal gameplay trailer out now: All Ballistic abilities revealed
-

Shraman Mitra •
With Filming for The Last of Us Season 2 Now Delayed, Will the New Content From the PlayStation 5 Remaster Affect the Show’s Narrative?
-

Angana Mazumdar •
Genshin Impact 3.7 TCG update: New cards and events