


Valorant TPM 2.0 Error: What is TPM 2.0 Error and How to fix it for Windows 11

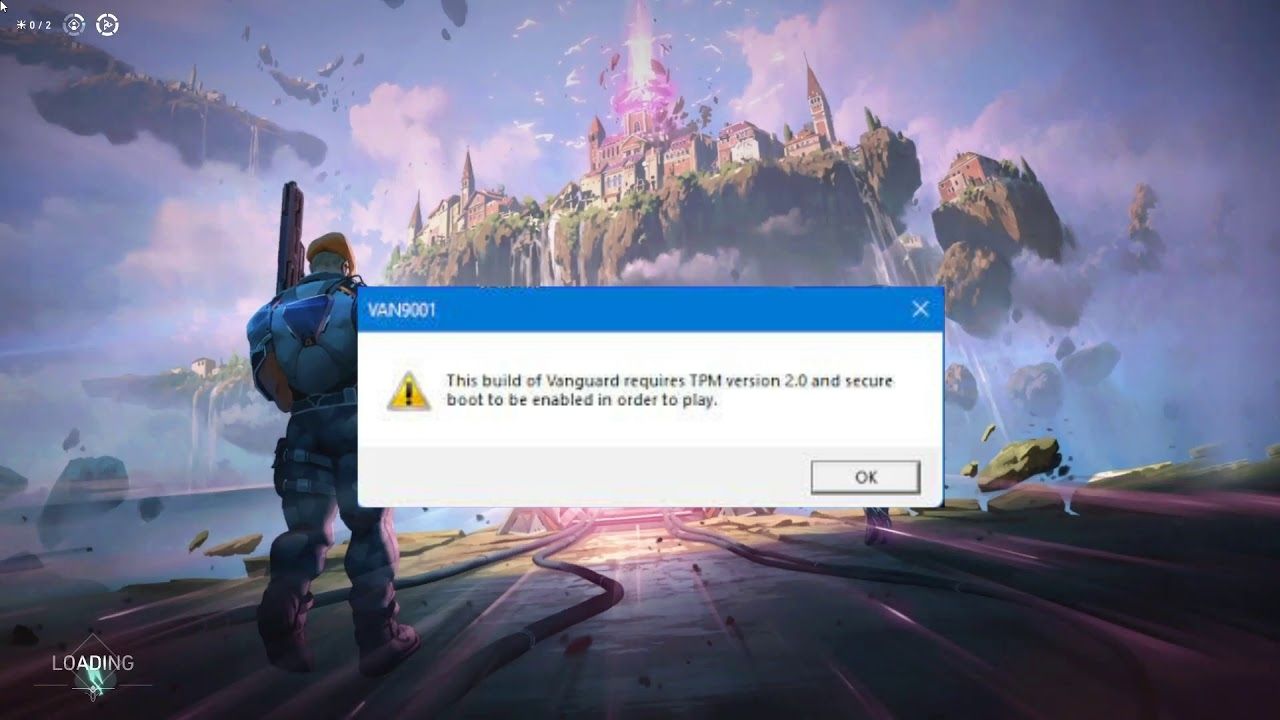
Facing the Valorant TPM 2.0 error while trying to open the game on Windows 11. Don’t worry here is how to fix the TPM 2.0 error.
Riot’s Anti-cheat “Vanguard” is considered among the best anti-cheats in the gaming industry. The way Vanguard works is it has two parts, first is the kernel which activates as soon as your system boots up. The second is the client which monitors the game and checks for cheats.
Going into Windows 11, an additional security layer was added called the TPM 2.0. Which is also necessary to play Valorant. So, let’s take a look at what TPM is and how to fix the Valorant TPM 2.0 error.
Also Read: Valorant NA Leaderboard: The current competitive ranking for the North American Valorant Players
What is TPM?
TPM or Trusted Platform Module is a cryptographic module that enhances the computer’s security and privacy. TPM uses encryption and decryption to maintain the security of the system.
Most of the PC or systems which were bought in the past 5 years have TPM 2.0 chips in their motherboards. And the TPM 2.0 chip is necessary for you to upgrade your OS to Windows 11. As it is an important building block for all security-related features.
Some software in Windows 11 requires an active TMP to be function properly. However, not all applications require that.
This will make it much harder to cheat, and not only that HWID bans will finally not be bypassed due to how TPM works, but this strategy should be adopted. To every game
This is indeed is the fattest W to ensure your games are safe!
— Anti-Cheat Police Department 🕵️ (@AntiCheatPD) September 3, 2021
Also Read: Purchase History For Valorant: How to check the amount of money you have spent on Valorant?
How to Fix the Valorant TPM 2.0 Error
To fix the TPM 2.0 error, you will have to enable it in the BIOS settings. You can do this by following the below steps:
Step 1: Open BIOS settings by choosing: “Settings > Update & Security > Recovery > Restart now”.
Step-2: From the next screen, choose: “Troubleshoot > Advanced options > UEFI Firmware Settings > Restart” to make the changes.
Step 3: Then enable the TPM which may be labeled as “Security Device, Security Device Support, TPM State, AMD fTPM switch, AMD PSP fTPM, Intel PTT, or Intel Platform Trust Technology.”
Step-5:After you enable the TPM and open your desktop window press “Windows key + r”
Step 6: Type in “tpm.msc” (without the quotations) and click ok
And there you should see the Status showing “The TPM is ready for use“.
About the author

-

Gautham Balaji •
Cyberpunk 2077 memes: The best Cyberpunk 2077 memes on the internet after its launch
-

Adnan Juzar Kachwala •
VCT LOCK IN Alpha Bracket Day Three Highlights: Evil Geniuses, Talon Esports and LOUD advance to Round of 16!
-

Arnab Mukherjee •
Genshin Impact Unlimited Opportunity Quest: Where to find Ivanovich & the plants – full guide
-

Yuvansh Ruia •
G2 Esports let go of neilzinho. Restructure of G2 VALORANT roster imminent.
-

Karan Bahuguna •
Here is all you need to know about Epic Games’ MetaHuman Creator (Release date, features and more)
-

Gautham Balaji •
Cyberpunk 2077 Review Embargo : When does review embargo lift for Cyberpunk 2077?